Top 10 Defensive Positions on Dust 2
Top 10 Defensive Positions on Dust 2
At Csgo-news.com, we regularly analyze key aspects of tactical gameplay in Counter-Strike 2. Dust 2 remains the most iconic and popular arena in competitive shooting history. However, effective defense on Dust 2 requires not only great aim, but also deep understanding of geometry. Therefore, choosing the right spot allows you to hold back aggressive pushes even in tough situations. In this guide, we break down the best positions Dust 2, which will help you win critical rounds. Each position offers unique advantages and requires good teamwork. Furthermore, mastering these positions on Dust 2 opens huge opportunities for total map control.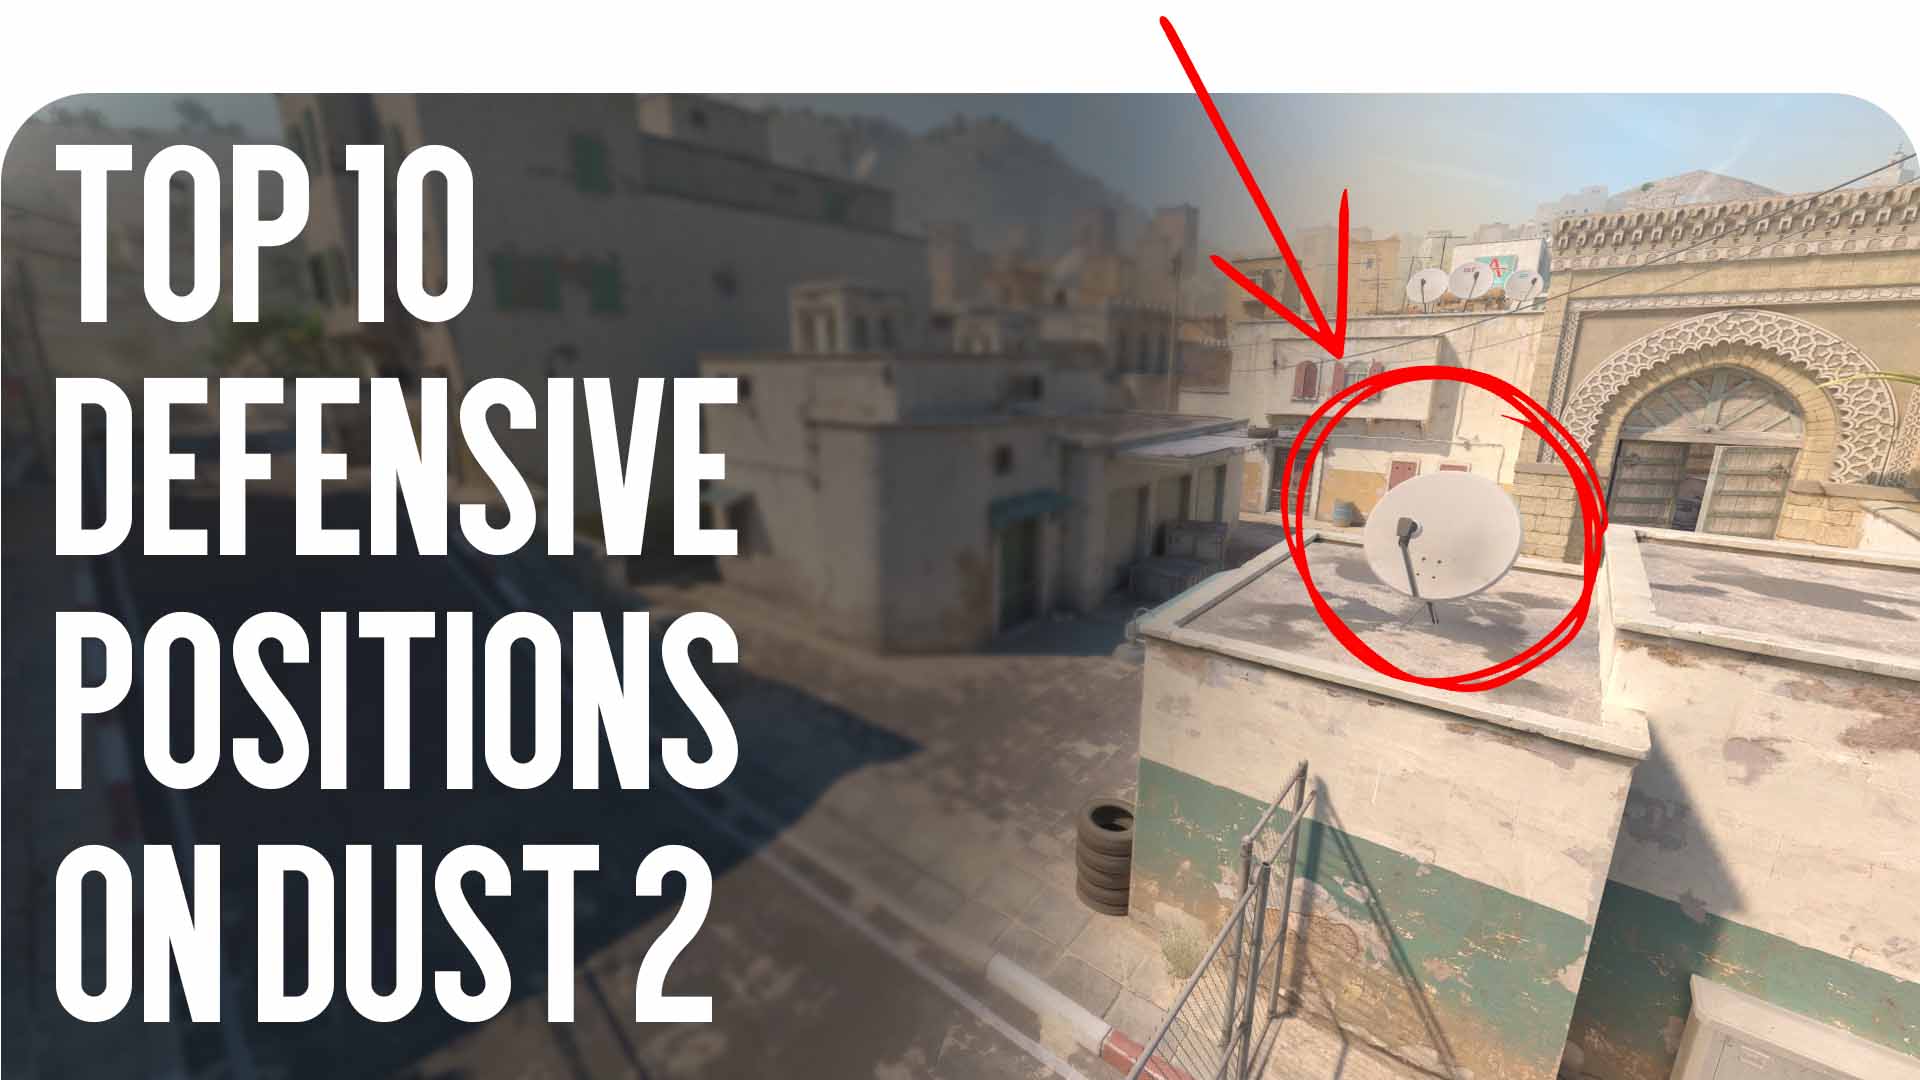
1. A Site: “Goose” Position
The “Goose” position is located in the far back corner of A site. Consequently, it is an ideal spot for AWP players and snipers. From here, you have a clear line of sight to Long, giving a big advantage. Additionally, the cover allows you to hide quickly during a massive enemy push. For this reason, defense on Dust 2 often revolves around controlling this crucial zone. Make sure to use smoke grenades to delay the enemy initial entry. However, keep in mind that retreating from here is difficult without CT Spawn support.
Player Reviews: praise “Goose” for maximum safety during long-range duels, but warn about the risk of getting trapped by molotovs.
2. A Site: “Car” Position (Long Corner)
This spot is located on Long near the car or container. Therefore, players value it for early aggressive contacts and quick information gathering. If you occupy this area early, you can easily gather info. The main goal is to throw a flashbang and fall back to safety. Quality best positions Dust 2 always allow you to get a kill and survive. Consequently, you should not play here passively every round. Switch up your timings to confuse attacking enemies.
Player Reviews: note high potential for an opening frag, but advise against staying longer than one shot.
3. A Site: “Ninja” Position
A hidden spot behind boxes directly on A site. Essentially, it is designed for surprise counter-attacks and sneaky defuses. When enemies push fast, they often overlook this tight corner. Therefore, proper defense on Dust 2 includes these clever tricks. Use flashbangs to blind opponents right before they enter site. Furthermore, from here you can easily coordinate retakes with your team. However, playing this spot requires calm nerves and great patience.
Player Reviews: call it the best surprise for inexperienced enemies, but criticize it for lack of escape routes.
4. B Site: “Upper Tunnels” Position
The entrance from Upper Tunnels to B site is a vital choke point. Therefore, holding it requires smart crossfire setups and good utility. Various positions on Dust 2 allow combining grenades to block the corridor completely. Consequently, a sniper or rifler can hold this narrow passage for a long time. Do not forget to throw incendiary grenades early in the round. In addition, you can visit Forcedrop.vip to check out awesome skins and content.
Player Reviews: appreciated for easy control of tight spaces, although players complain about frequent enemy grenade spam.
5. B Site: “Window” Position
B Window offers a great view of the Tunnels entrance and B site. As a result, the B anchor can gather information safely. It is one of the most mobile positions on the map. Therefore, the best positions Dust 2 always include Window in standard setups. From here, you can easily shoot with an AWP and fall back to CT Spawn. Additionally, Window lets you assist teammates on Mid quickly. However, be careful as experienced enemies always spam this opening.
Player Reviews: highlight excellent visibility and fast rotations, but point out vulnerability to targeted flashbangs.
6. B Site: “Default B” Position (Back Site)
The area behind the main boxes on B site is called Default. Consequently, it acts as the main barrier during direct enemy pushes. Solid defense on Dust 2 is built around deep control of this spot. From here, it is easy to control both Tunnels and Doors. Therefore, try to use cover actively without exposing yourself to multiple angles. Additionally, boost spots here provide unexpected fire angles.
Player Reviews: praise its reliability in standard setups, but criticize predictability against enemy utility.
7. Mid: “Mid Doors” Position
Controlling Mid Doors is critical for defense strategy. For this reason, the CT sniper must gather early round information. In Counter-Strike 2, this opening timing often determines the entire round outcome. Proper positions on Dust 2 at Mid allow you to monitor enemy rotations. Therefore, always smoke doors to avoid early damage. Furthermore, controlling Mid helps you react instantly to Short aggression.
Player Reviews: consider this spot essential for defense structure, but call it extremely dangerous against enemy snipers.
8. Mid: “Short / Catwalk” Position
The Short area connects Mid and A site. Consequently, holding this position prevents fast split pushes. Quality defense on Dust 2 requires constant control of the stairs and catwalk. Therefore, throw flashbangs over walls for effective delay. Additionally, playing in pairs here provides maximum efficiency. Remember to fall back to A site under heavy pressure.
Player Reviews: love Short for dynamic gameplay and team importance, but note high difficulty when holding solo.
9. “CT Spawn” Position
CT Spawn serves as the main rotation path between both sites. As a result, it is convenient to support B site and Mid from here. Many best positions Dust 2 rely on support from this central area. Therefore, anchors can rotate within seconds when needed. Also, it is easy to pick off enemies dropping from Short. However, sitting here passively without info is not recommended.
Player Reviews: praise convenient rotations and backup potential, but mention poor protection against double pushes.
10. “Catwalk / Xbox” Position
Aggressively taking Catwalk allows you to steal initiative early in the round. Therefore, experienced players often use this spot for unexpected plays. Diverse positions on Dust 2 offer endless ways to surprise your opponents. Consequently, controlling Catwalk deprives the enemy of comfortable Short setups. Main goal is securing sniper support from Mid. Otherwise, you can easily get surrounded from multiple sides.
Player Reviews: note huge tactical advantage when successful, but label the position high risk.
FAQ: Frequently Asked Questions
Which position on Dust 2 is most critical for snipers?
The most critical positions for snipers are Mid Doors and Goose on A Site due to early info gathering.
How should you structure defense on Dust 2 during eco rounds?
During eco rounds, use aggressive close-range positions like Tunnels or Ninja to negate weapon differences.
Why is controlling Short so important on Dust 2?
Controlling Short prevents fast A split attacks and maintains rotation control between site defenders.
Conclusion
In conclusion, solid defense requires deep tactical knowledge and constant practice. Every position discussed has unique strengths and weaknesses, so rotate them regularly. Use effective teamwork, proper utility, and clear communication. Read more in-depth guides on Csgo-news.com to elevate your gameplay every single day.
👉 Want to learn more? Read here